

We were able to get a lot done over the holiday break and I am so excited to show all of our progress. I will be posting a few different posts within the next week, so check back soon!
We started out the week by working on the dining room drywall. We attempted to salvage some of the old drywall in the dining room, but it had a knockdown texture. Since we had new drywall meeting the old and some patch work done, we knew we would either have to cover it up or scrape it off to make it match. We considered textured wallpaper but were not to happy with the price to cover a space as large as we needed. I was not sold on the idea of scraping off texture because it would be such a mess. Finally, I decided I would just try to cover it up with drywall mud since the texture was relatively flat to begin with.
The process was slow and messy, but I eventually got the walls coated in mud. It took a lot of mud and drying time, but turned out pretty good.

*Tip* Apply the mud nice and thick at first and then use more pressure to get rid of any bubbles. When it is thick you are less likely to hit the texture when you smooth out the mud.
So far, sanding these walls was the worst job that I have done in the house. The walls turned out incredibly smooth (way better than I expected) but the dust was unreal. The walls needed some patching, especially where there were a lot of bubbles in the mud, but after the initial sanding the job was much easier.
With textured walls it would be easier if you scrape the walls first, but I have read that you should still coat the walls in mud afterwards. Honestly, in this case I think it would have been easier to tear out the drywall and put new in. My concern was that we would get into slat and plaster underneath and have a bigger mess than we wanted to deal with. Overall it turned out great, it just wasn’t much fun.
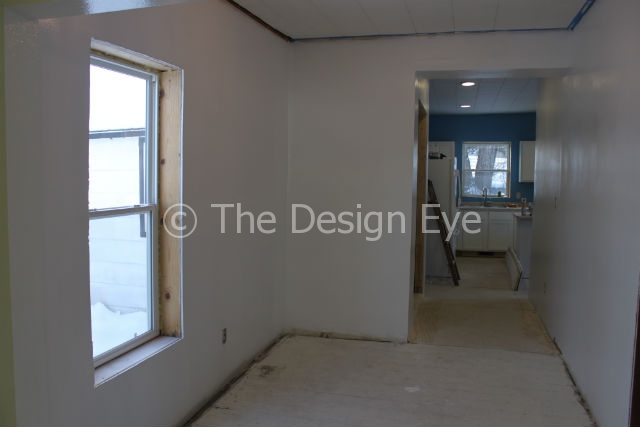
After the sanding I primed the room to make sure I was happy with the drywall. It looked great, so I went ahead and applied our new texture. I bought 3 cans of spray on orange peel texture. I bought the kind that goes on blue and dries white, but the blue barely showed up, so I don’t recommend it for the extra cost. The texture is subtle but gives our white walls more depth. After applying the texture I primed and painted.
We also got our kitchen and dining room flooring installed so more pictures will come when I get that post put together. Thanks for reading!